MILWAUKEE WI, USA,
September 30, 2026


The finish may not be the real problem. If wood is damp, peeling, weathered, or damaged, applying fresh paint or stain without checking the surface first can lead to uneven color and early wear. For Milwaukee painting and staining projects, a lasting result starts with understanding what the wood needs before choosing a coating.
It’s reasonable to wonder whether a surface should be painted, stained, repaired, or replaced. Milwaukee’s changing seasons and moisture can put exterior wood through repeated stress, so careful assessment and preparation matter as much as the finish itself. The right approach depends on the wood’s condition, its previous coating, and its exposure to the elements.
This guide explains how to assess wood, prepare it for an even finish, and plan exterior work around local weather. You’ll learn what to check before starting, which preparation steps help a coating adhere, and when a professional assessment may help. Pro Painter USA provides painting, staining, patching, and surface preparation for homes and businesses in Milwaukee and surrounding Wisconsin communities.
• Assess the wood before choosing a finish so cosmetic wear isn’t confused with damage that may need attention first.
• For Milwaukee painting and staining, match preparation to the surface and coating, and confirm the wood meets the product’s cleanliness and dryness instructions.
• Compare paint and stain based on the look you want, the wood’s condition, and how much maintenance you’re prepared to do.
• Plan exterior work around temperature, moisture, and the forecast, then follow the coating label for application conditions and drying times.
• Consider a professional assessment when preparation, repairs, access, or finish selection feels uncertain, and clarify what the proposed scope includes.
Let the wood’s condition guide both the finish and the preparation plan. A sound surface with minor fading may need a different approach from wood with peeling layers, cracks, or signs of deterioration. Choosing paint or stain before checking the surface can leave underlying problems unresolved and affect how the new finish looks and holds.
A coating can protect and change the appearance of wood, but it can’t replace sound preparation or make damaged wood sound. Distinguish routine preparation, such as removing loose coating and smoothing worn areas, from damage that may need assessment by a qualified professional before painting or staining begins.
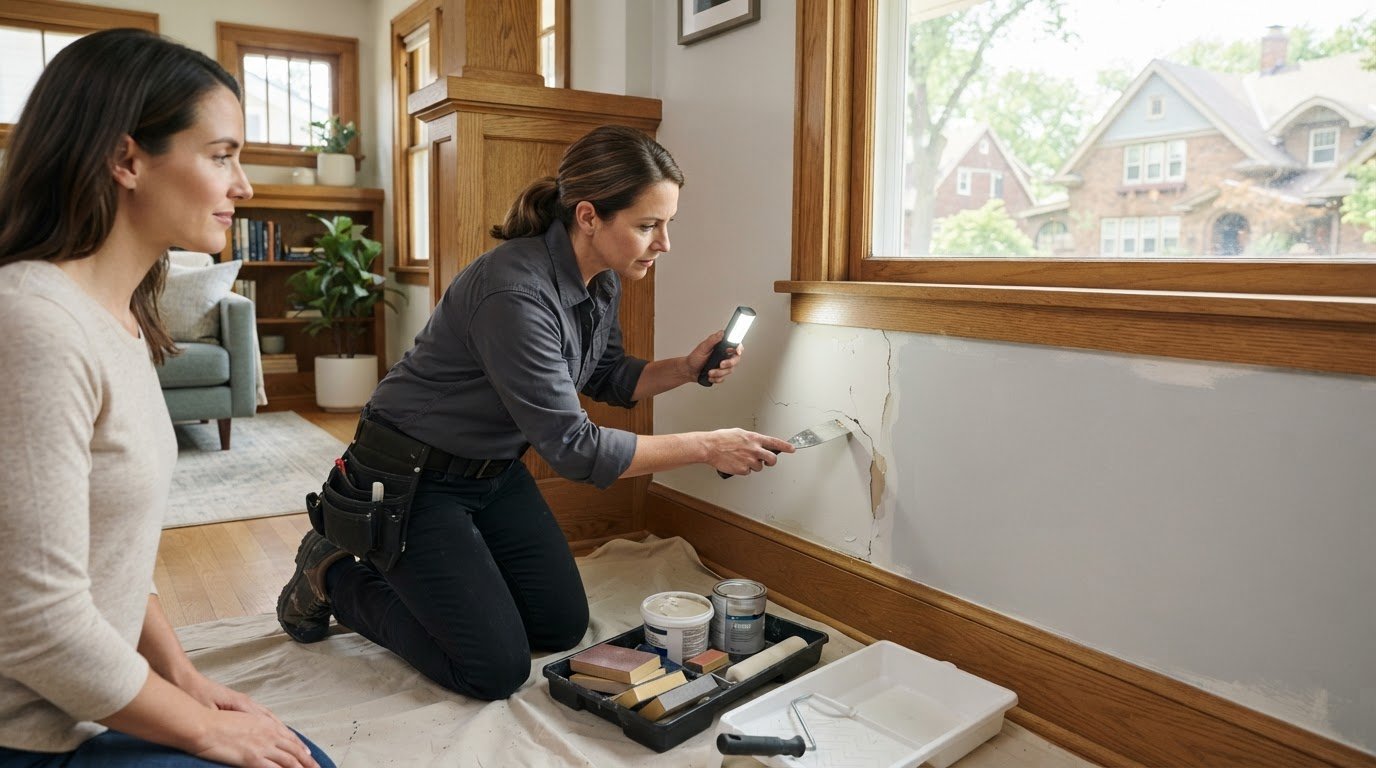
Look across the surface for peeling coatings, splintering, cracks, loose material, and areas that appear uneven or worn. Check for recurring moisture clues, such as persistent dampness, water marks, or visible deterioration. These signs can show where to investigate, but a visual check alone can’t confirm the condition of hidden wood.
If material crumbles, feels unusually soft, or appears extensively damaged, pause before coating and seek an appropriate assessment. The next step may be more than routine surface preparation. A professional can help clarify whether patching or other work is needed before applying a finish.
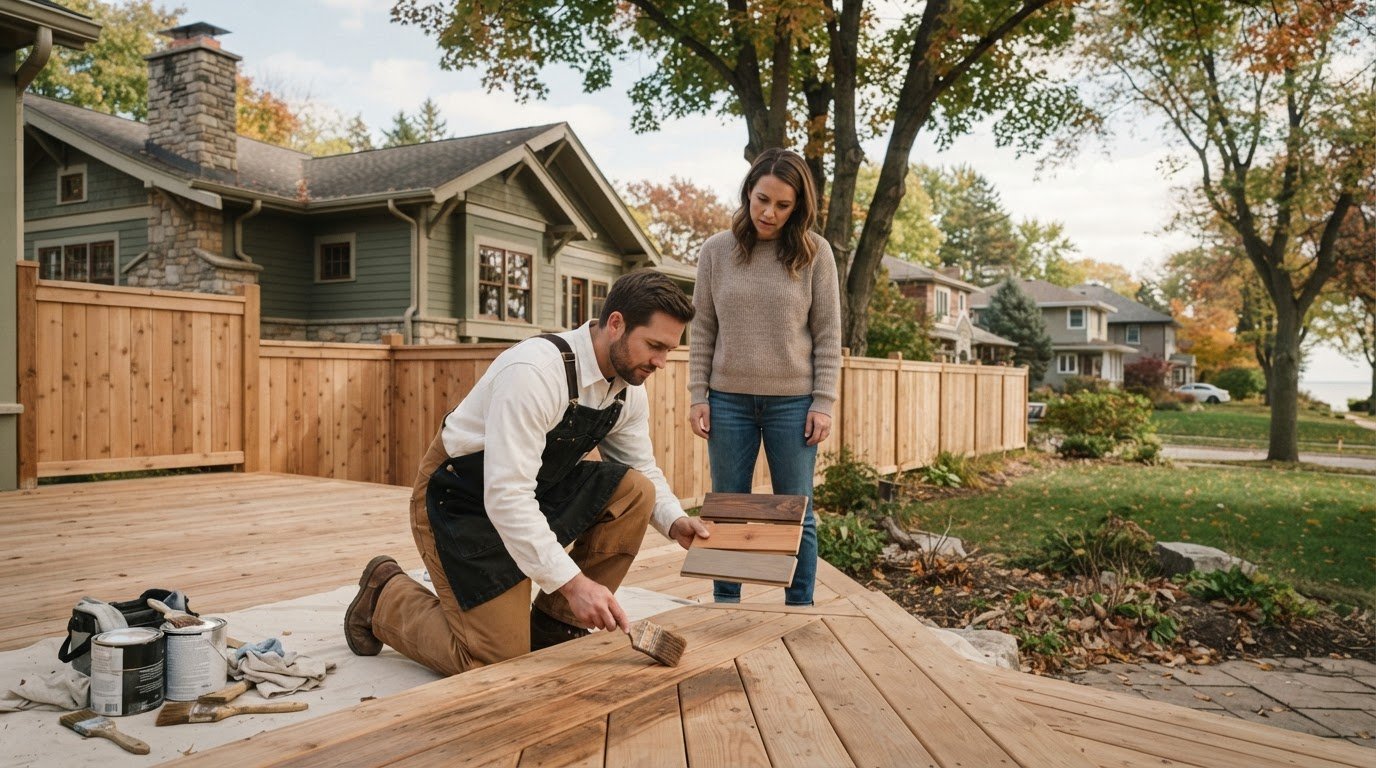
Paint creates an opaque finish that covers the wood’s natural color and grain. Stain can leave some or much of the grain visible, depending on the product; some stain finishes are more opaque than others. For a foundational overview, Wood stain describes its composition and uses.
Neither option is right for every surface. Suitability depends on the wood type, its condition, any existing coating, exposure to the elements, and the manufacturer’s directions. An existing finish, for example, may affect whether a new coating can be applied as planned. Read the product instructions before deciding, and don’t assume a finish will adhere simply because it looks suitable.
Appearance matters, too. If the product and surface allow it, test the finish on a small, inconspicuous area first. This helps you judge how the color looks on that particular wood and whether the grain remains visible as expected. In Milwaukee painting and staining projects, a careful assessment gives the finish choice a practical starting point instead of leaving it to guesswork.
A dependable finish comes from following the right preparation sequence, not applying every possible step to every surface. In Milwaukee, exterior wood may face moisture and changing temperatures, so choose cleaning, sanding, repairs, and primer based on the wood’s condition and the coating instructions. The goal is a surface that’s sound, clean, and dry enough for the selected product.
Good preparation helps a coating adhere evenly and gives the finished surface a more consistent appearance. Work in stages, and don’t move on just because the surface looks ready from a distance.
Begin by removing dirt and other loose material with a cleaning method suited to the wood and its existing finish. Allow the surface to dry as directed by the coating manufacturer. Scrape only coating that’s loose or failing, taking care not to damage sound wood or spread dust unnecessarily.
Sand rough areas and the edges where remaining coating meets bare wood to smooth the transition. Sanding can improve surface uniformity, but it won’t repair cracks, soft wood, or other underlying damage. After sanding, remove dust using the method specified by the product label. Before applying paint or stain, confirm that the wood meets the product’s cleanliness, dryness, and surface-readiness requirements.
Decide whether patching or repair is needed after cleaning and removing loose material. The right approach depends on the type and extent of damage and on the coating system. Spot priming may be appropriate on bare areas or repaired sections, but primer choice and use should follow the manufacturer’s instructions. Don’t assume every paint or stain requires the same primer.
Recurring moisture, soft wood, or extensive deterioration calls for assessment before coating. These signs may point to issues that routine scraping and sanding won’t address. For damage that appears to go beyond surface preparation, see this exterior wood rot repair guide and consider having the affected area assessed.
If the work involves disturbing older coatings, review the EPA’s Lead-Safe Renovations guidance before you begin. Follow applicable safety guidance rather than sanding or scraping an unknown coating without first considering the risks.
For Milwaukee painting and staining, a professional assessment can help clarify whether the next step is surface preparation, patching, or a different repair. Pro Painter USA offers painting, staining, patching, and surface preparation in Milwaukee and surrounding Wisconsin communities. If you’re unsure how to prepare a wood surface, you can learn about local painting and staining services.
Once you’ve assessed the surface, weigh the look you want against the wood’s condition and existing finish. Paint gives wood an opaque color; stain may leave the grain visible, depending on the product. Neither is automatically the better choice for Milwaukee painting and staining projects. The wood type, previous coating, weather exposure, and selected product all affect preparation and results.
| Factor | Paint | Stain |
|---|---|---|
| Appearance | Creates an opaque, more uniform color. | May show some or much of the wood grain, depending on the product. |
| Surface condition | Can cover the wood’s natural appearance, but won’t correct damage or unstable coating. | Appearance depends on the wood and product; surface variations may remain visible. |
| Preparation | Must suit the existing finish and paint system; bare or repaired areas may need primer. | Existing coatings can affect whether stain is suitable and what preparation is needed. |
| Maintenance | Inspect for wear and peeling, then maintain as the surface and coating require. | Inspect for fading or wear and maintain according to exposure and product directions. |
This comparison is a starting point, not a guarantee of how a finish will perform. Follow the coating manufacturer’s instructions, and consider a small test area where appropriate. An existing coating matters because a new finish may not adhere or look as intended over an incompatible, loose, or poorly prepared layer. Repainting, restaining, or removing more of the old finish may each call for a different plan.
Paint may suit a project where an opaque color and consistent appearance are priorities, such as on a door, trim, or some exterior wood. The surface still needs to be sound, and the existing coating must be compatible with the planned paint system. Bare areas, repairs, or peeling layers can change the preparation needed, so check product directions rather than assuming one process fits every surface.
Stain may be a good match if you prefer visible wood grain, though the result depends on the product and condition of the wood. Consider how much upkeep you’re comfortable with and how exposed the surface is before choosing. For fence-specific considerations, see this Milwaukee fence staining guide.
Whether you choose paint or stain, base the decision on the actual surface and coating instructions, not a general rule that one finish always lasts longer or needs less maintenance.

Exterior work needs a schedule that accounts for the conditions the coating will face during application and drying. In Milwaukee, a clear start to the day doesn’t guarantee that the weather will remain suitable. Temperature, moisture, rain, and changing conditions can affect how a product applies and dries, so plan around the label rather than relying on a fixed calendar window.
Before starting, review the product instructions for allowable air and surface temperatures, moisture limits, rain exposure, and drying times. Check whether the wood itself is dry enough, not just whether the air feels dry. Damp wood or conditions outside the stated range can interfere with application or curing. If actual conditions don’t meet the label’s directions, postpone coating.
Keep checking the forecast as the project progresses. Rain or a temperature shift after application may affect how long the surface needs to dry. Leave room in the schedule for preparation and drying instead of treating coating as a single-day task. Product directions determine when work can begin and when a surface can be exposed to moisture.
Separate the work into stages so each one is completed under suitable conditions:
Identify areas that need cleaning, preparation, or repair.
Complete the required surface work, then confirm the wood meets the coating’s cleanliness and dryness instructions.
Check the forecast and surface conditions against the product label before coating.
Follow the manufacturer’s stated drying times and exposure guidance.
Note the coating used and keep its instructions for future inspection and maintenance.
This step-by-step approach helps prevent a common planning mistake: allowing enough time to apply a finish, but not enough for the wood to be ready beforehand or the coating to dry afterward. For fence-specific planning, see the Milwaukee fence staining guide.
Weather windows and surface readiness can be difficult to coordinate. For help planning a wood painting or staining project, contact Pro Painter USA about painting and staining in Milwaukee and surrounding Wisconsin communities.
Some wood projects are straightforward to assess and prepare. Others raise questions that are easier to resolve before coating begins. Consider a professional assessment if peeling covers a wide area, a finish has failed repeatedly, the surface is difficult to reach safely, or you’re unsure whether the wood is sound. Clarifying the scope first can help prevent a finish from being applied over unresolved problems.
Widespread peeling can indicate that more than a small touch-up is needed. Repeated coating failure may also warrant a closer look at the surface and preparation history. Soft or visibly deteriorated wood deserves attention before painting or staining, while a hard-to-access area may require equipment or experience you don’t have.
Visible symptoms alone don’t confirm the cause of hidden damage. Ask what the contractor can assess and whether the work you need falls within the proposed service scope. Painting, staining, surface preparation, and patching are distinct from repairs that may require a different specialist.
A useful estimate should make clear what work is included and where the scope ends. Before deciding, ask about:
Which wood areas, doors, or trim are included?
What cleaning, scraping, sanding, or other surface preparation is planned?
Is patching included, and what conditions would require a separate assessment?
What coating approach is proposed, and how will existing coatings affect the plan?
Are difficult-to-reach areas included, and how will project timing account for product instructions and weather?
What cleanup is part of the stated scope?
These questions help you compare proposals based on the work itself, not just the finish you hope to see. Make sure the planned coating and schedule account for the surface condition and product-specific requirements.
Pro Painter USA provides painting, staining, patching, and surface preparation in Milwaukee and surrounding Wisconsin communities. If you’re weighing the right next step for your wood project, you can request a free estimate online or by phone. Describe which surfaces need attention and what concerns you’ve noticed, then confirm service availability for your location.
A lasting finish begins with the condition of the wood, not just the choice of paint or stain. Check for peeling, wear, and possible deterioration, then prepare the surface according to its needs and the coating manufacturer’s instructions. For exterior work, plan around actual temperature, moisture, and forecast conditions rather than assuming a particular date will be suitable.
With Milwaukee painting and staining, taking time to make these decisions can help you avoid coating over unresolved damage or choosing a finish that doesn’t fit your goals. If preparation feels extensive, access is difficult, or the wood’s condition is uncertain, a professional assessment can help clarify the next step.
Pro Painter USA is a locally owned and operated painting business with approximately 30 years of industry experience. Its services include painting, staining, patching, and surface preparation in Milwaukee and surrounding Wisconsin communities. Request a free painting or staining estimate from Pro Painter USA to discuss your project and confirm service availability for your location. With a clear plan, you can move forward with confidence and care for your wood surfaces.
Choose based on the look you want, the wood’s condition, and its existing finish. Paint provides an opaque color, while stain may leave the grain visible, depending on the product. For Milwaukee painting and staining projects, exposure to weather and the coating manufacturer’s instructions also matter. Neither finish suits every surface, and neither automatically needs less maintenance. If you’re unsure, assess the wood and test the appearance on a small, inconspicuous area when appropriate.
Start by inspecting the surface, then remove dirt and loose coating with methods suitable for the wood and its existing finish. Sand rough areas to smooth transitions, but remember that sanding doesn’t repair damaged wood. Complete any needed patching or repairs, and use primer if the coating instructions call for it. Before applying paint or stain, make sure the surface meets the product’s requirements for cleanliness, dryness, and readiness.
Usually, stain won’t produce its intended grain-showing appearance over a layer of paint. Paint covers the wood, so stain may not reach or reveal the grain as expected. Whether a different finish is possible depends on the existing coating, the wood, and the stain manufacturer’s directions. Don’t assume the old paint can simply be coated with stain. Check product instructions and consider an assessment before removing an unknown or failing finish.
Exterior wood is ready only when it’s sound, clean, dry, and within the coating’s stated application conditions. Check for loose paint, visible deterioration, and persistent dampness, then consult the product label for air and surface temperature, moisture, rain exposure, and drying guidance. Review the forecast throughout the project, not just at the start. If conditions fall outside the instructions or the wood’s condition is uncertain, wait or seek an assessment.
Not always. Primer needs depend on the wood, its existing coating, any bare or patched areas, and the paint system selected. Some surfaces or products may call for primer, while others may have different instructions. Check the manufacturer’s label for surface preparation and primer requirements instead of applying one rule to every project. If old coatings are peeling or the surface has been repaired, confirm the right approach before applying the finish coat.
A painting contractor may be able to prepare or patch some surfaces, but the work depends on the damage and the contractor’s stated services. Pro Painter USA offers painting, staining, patching, and surface preparation. These offerings don’t necessarily cover every type of wood or structural repair. Soft wood, recurring moisture, or extensive deterioration should be assessed before coating; ask whether the specific repair you need is included or requires another professional.
Pro Painter USA offers free estimates online or by phone. Describe the wood surfaces, their condition, any existing coating, access concerns, and whether you’re considering paint or stain. Ask what preparation, patching, coating, and cleanup the proposed scope includes, and confirm service availability for your address. The company serves Milwaukee and surrounding Wisconsin communities, including Shorewood, Whitefish Bay, Fox Bay, Glendale, Fox Point, Bayview, Grafton, Cedarburg, Port Washington, Wauwatosa, Menominee Falls, Menomonee Falls, Richfield, West Bend, Hartford, Waukesha, New Berlin, Hales Corner, Oak Creek, and Cudahy.
You might find these helpful:
We are a team of interior and exterior painters and we are not limited to house painting only. We can paint different businesses like retail shops, commercial buildings, and apartments.
We also provide restaurant painting services. We can give you more information about these services if you give us a call.