MILWAUKEE WI, USA,
August 12, 2026


Most homeowners believe that the color on their walls defines a room's character, but the real secret to a high-end finish lies in the crisp, clean edges of your woodwork. Whether you're refreshing scuffed baseboards or updating ornate crown molding, the process of painting trim molding is often the most demanding part of any interior project. You've likely felt the frustration of seeing messy paint bleed onto a freshly painted wall or noticed visible brush strokes that ruin an otherwise smooth surface. It's a task that requires patience, a steady hand, and a deep commitment to the details that most people overlook.
In this guide, we'll show you how to master these professional techniques to ensure your home's trim looks flawless and resists the wear of daily life. You'll learn why the tedious steps like sanding and caulking are actually the most important parts of the job. We'll walk through the essential tools you need, the best ways to avoid physical strain during those long hours on a ladder, and the specific methods pros use to achieve those sharp, professional lines. By the end, you'll have the confidence to transform your home's interior into a modernized space that adds lasting value to your property.
• Learn why architectural trim acts as the frame for your home's interior, providing the visual separation and depth needed for a modernized look.
• Understand the importance of tool selection, specifically how an angled sash brush helps you achieve a professional finish when painting trim molding.
• Discover why professional preparation, including sanding and caulking, is the most critical step for a smooth and durable result.
• Master the techniques of brush loading and cutting in to eliminate messy edges and visible brush strokes on your baseboards and crown molding.
• Identify when to seek professional assistance for complex projects, such as intricate dental molding or high-vaulted ceilings, to ensure a flawless outcome.
Think of your home's interior as a piece of art. If the walls are the canvas, then the trim is the frame that brings everything into focus. High-quality decorative molding provides the structural boundaries that define a room. Without it, even the most expensive paint colors can look flat or unfinished. When you're painting trim molding, you aren't just applying color; you're creating visual separation that adds depth and architectural interest to your living space.
In the Milwaukee housing market, first impressions are vital for property value. Refreshed trim offers a significant return on investment because it signals to potential buyers that a home has been meticulously maintained. There's a clear difference between trim that's simply "clean" and trim that has a "professional" finish. This same standard of precision is required in commercial spaces, where StripeGuys Warhouse Line Striping provides expert floor markings to ensure safety and organization. A professional job eliminates the gaps, visible nail holes, and sloppy edges that often distract the eye, replacing them with a crispness that modernizes the entire interior. Whether you're preparing for a sale or just want to enjoy a more polished home, the details in your woodwork make the difference.
Crown molding serves a distinct aesthetic purpose by drawing the eye upward toward the ceiling. This creates a sense of height and makes even smaller rooms feel more expansive and grand. Baseboards, on the other hand, are the functional workhorses of your home. They protect your walls from vacuum scuffs, pet activity, and daily foot traffic. Because of these different roles, the approach to painting them varies. Crown molding often requires a delicate touch to highlight intricate profiles, while baseboards need a focus on extreme durability and a perfectly leveled finish that can withstand impact.
Selecting the correct sheen is just as important as the color itself. Industry standards for trim are typically semi-gloss or high-gloss finishes. These higher sheen levels aren't just for show; they provide a hard, non-porous surface that's easy to wipe clean when dust or fingerprints accumulate. Light reflection also plays a key role in the final look. A glossier finish on your molding catches the light, making the architectural details pop against the flatter sheen of your walls. This subtle contrast is what gives a room that finished, designer appearance that lasts for years.
Achieving a factory-smooth finish on your woodwork starts long before the brush touches the surface. While hobbyist kits might suggest using small detail brushes, professional painting trim molding requires specialized equipment and durable apparel designed for architectural scales. To see how professional-grade workwear can improve your comfort and efficiency, learn more about White Wear. The right tools don't just make the job easier; they eliminate the common frustrations of paint drips and uneven coverage. You'll find that investing in premium supplies is the most effective way to ensure your project looks like it was handled by a seasoned expert.
One of the first decisions you'll face is choosing between natural and synthetic bristles. Natural bristles, often made from hog hair, are traditionally used for oil-based paints but will swell and become limp when used with modern water-based enamels. For most residential projects, synthetic brushes made of nylon or polyester blends are superior. They maintain their stiffness and "spring," which is essential for the precise technique of "cutting in" along the edges where the trim meets the wall. While high-quality painter's tape is a helpful safety net, it shouldn't be your only defense against messy lines. Over-reliance on tape can lead to paint bleed if the seal isn't perfect, so mastering your brush control is always the better path.
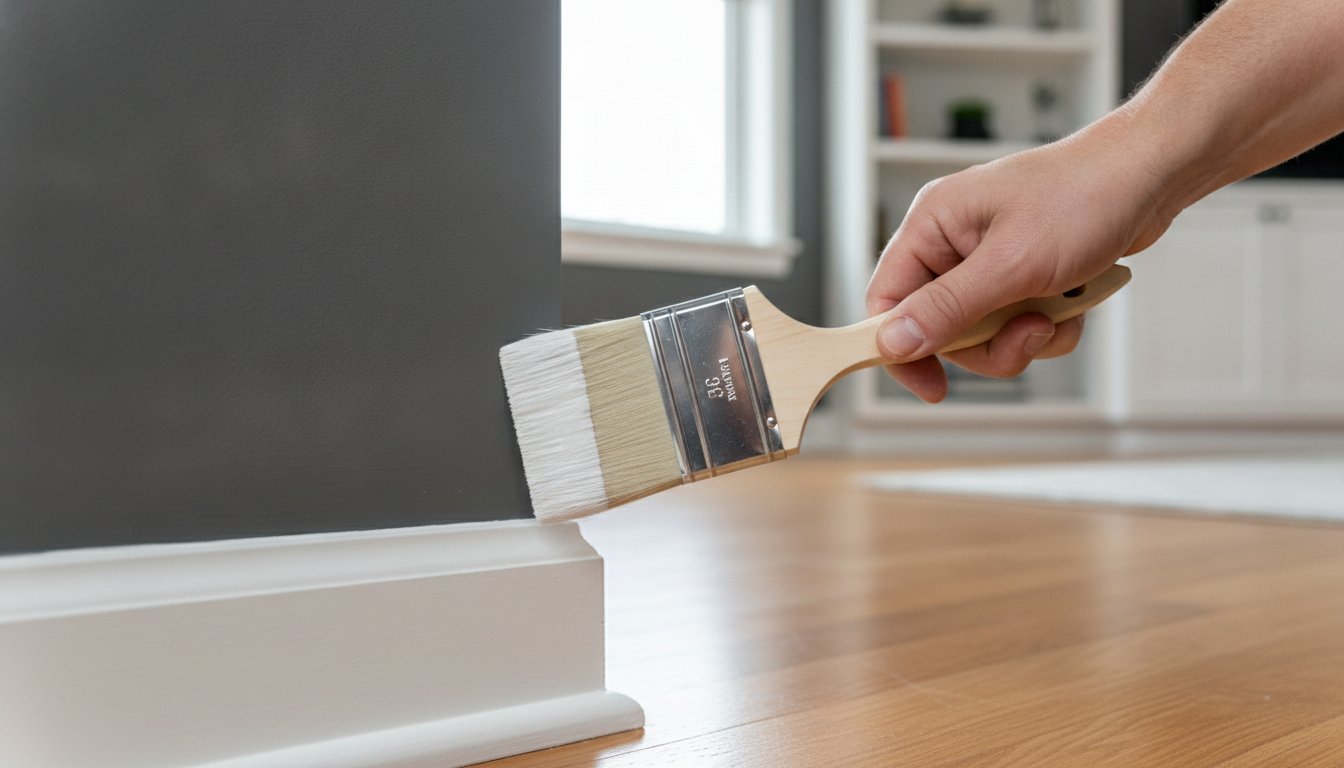
A 2.5-inch angled sash brush is the undisputed workhorse of trim painting. The angle allows you to reach into tight corners and maintain a sharp line along the top of baseboards. Look for a brush with a stainless steel ferrule, the metal band that holds the bristles. Cheap ferrules rust quickly and lose bristles, which then get stuck in your wet paint. To keep your brush in top shape for multi-day projects, wash it thoroughly with a brush comb and store it in its original cardboard "keeper" to maintain the bristle shape.
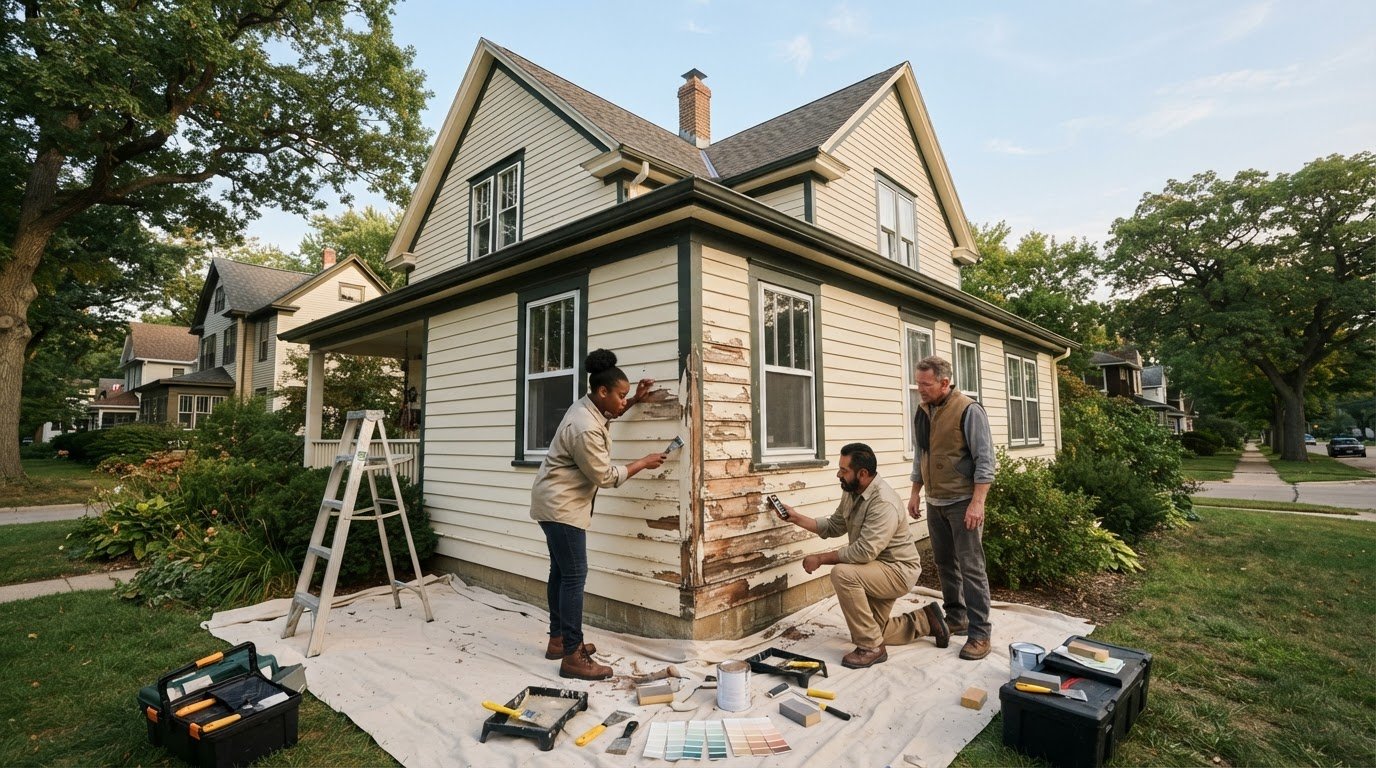
Don't be tempted by "contractor grade" paints that prioritize low cost and high speed. These often lack the leveling agents found in premium water-based alkyd enamels. Leveling agents allow the paint to "flow" slightly after application, which effectively hides brush marks as the paint dries. If you're working in an older home, especially those built before 1978, it's vital to follow lead-safe work practices when sanding or stripping old layers. For previously stained wood, a high-quality primer is non-negotiable to prevent tannins from bleeding through your new topcoat. If the technical details of product selection feel overwhelming, our team for residential interior painting can handle the entire process from start to finish.
In the world of professional painting, there's a golden rule: the finish is only as good as the preparation. While it's tempting to jump straight to the color, successful painting trim molding is actually 90% preparation and only 10% application. Skipping the "boring" steps is the primary reason DIY projects fail to achieve that factory-smooth look. A methodical approach ensures that your paint bonds correctly and lasts for decades rather than peeling within a year. Professional preparation follows a strict sequence: cleaning, repairing, sanding, and finally caulking.
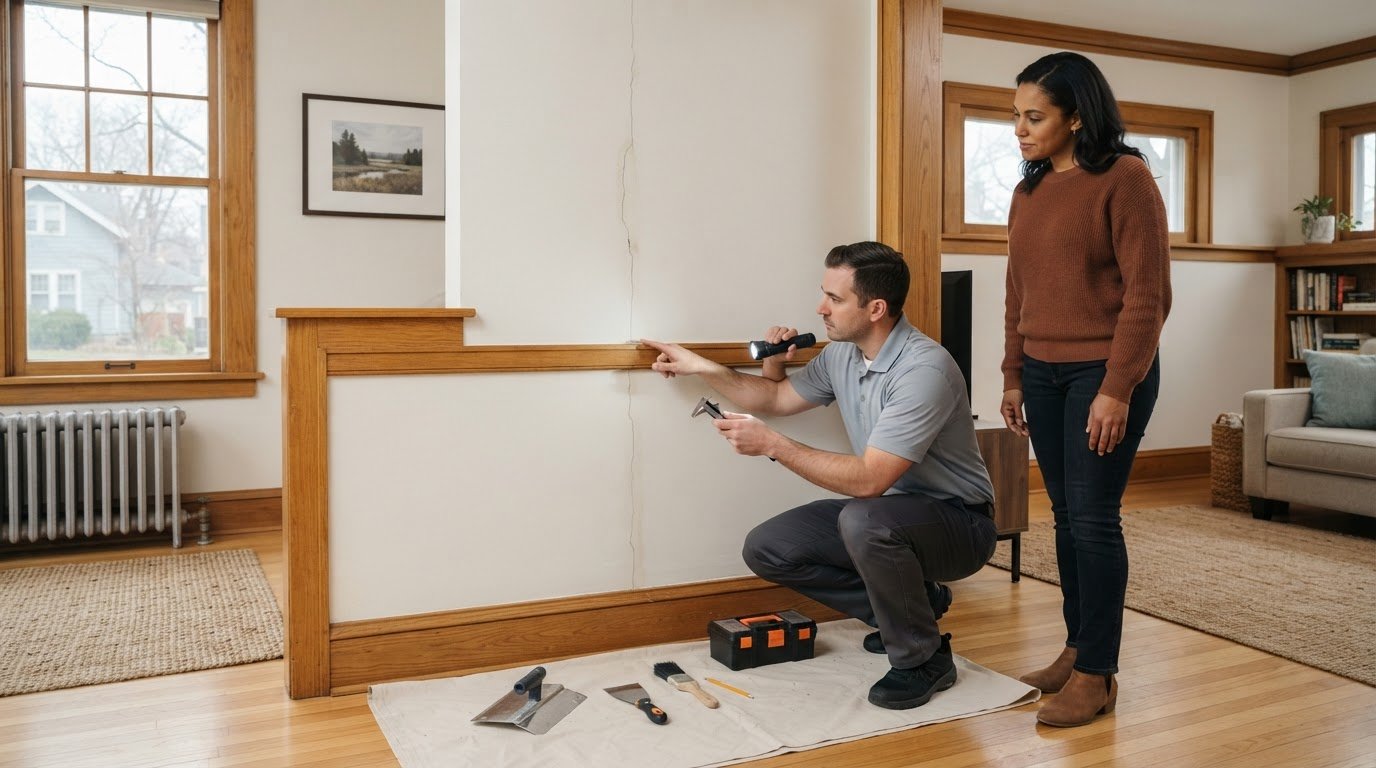
Start by inspecting your woodwork for damage. You might find "trim rot" near window sills or impact dents on baseboards from years of vacuuming. Trim rot often appears as soft, discolored patches that crumble under light pressure, especially near entryways or older windows. If you find these areas, they must be hardened with a wood fortifier or replaced entirely before you even think about picking up a brush. Maintaining a clean, dust-free workspace also provides a psychological boost. It allows you to focus on the fine details without the distraction of clutter or the fear of debris landing in your wet paint.
Sanding isn't just about making the wood feel soft; it's about creating "tooth" for the paint to grab onto. For existing finishes, a "scuff sand" with 120-grit to 220-grit sandpaper is the sweet spot. This removes the slick top layer without gouging the wood. If you're working with previously painted surfaces that are already smooth, the 220-grit paper ensures you don't leave deep scratch marks that might show through a semi-gloss topcoat. Once you've finished, use a vacuum followed by a tack cloth to remove every microscopic particle. If you leave dust behind, it will mix with your paint and create a gritty, unprofessional texture.
A professional finish requires closing every gap where the trim meets the wall or where two pieces of molding join. This creates a seamless, built-in appearance that defines high-quality craftsmanship.
Use this for long linear gaps between the trim and the drywall.
Choose this for nail holes or deep gouges in the wood itself, as it sands down to a perfectly flat finish.
Best reserved for minor wall repairs immediately adjacent to the trim.
Using high-quality, flexible caulk is vital for Wisconsin temperature swings because it allows the wood to expand and contract without cracking the paint seal. By taking the time to address these structural details now, you're ensuring that the final coat of paint looks elegant and stays intact regardless of the season.

Once your surfaces are sanded and caulked, you're ready for the application phase. Successful painting trim molding relies on fluid motion and proper paint management. Professional results don't come from a "dip and go" approach; they require a deep understanding of how the paint behaves as it leaves the brush. By following a methodical application process, you ensure that every inch of your woodwork looks as though it was finished in a professional shop.
Start by mastering the way you load your brush. Dip the bristles about one-third of the way into the paint and tap the brush against the inside of the container. Avoid wiping the bristles on the rim. This removes too much paint and leads to a "dry" stroke that creates streaks. By tapping, you keep the paint in the center of the brush, creating a reservoir that allows for longer, smoother lines. When you're "cutting in" along the wall, hold the brush like a pencil and let the bristles fan out naturally to meet the edge. This control is far more effective than relying on tape alone, which can often fail to prevent bleed-through on textured surfaces.
In our local Milwaukee climate, managing drying times is a seasonal challenge. During humid summer months, the paint may take longer to set, while the dry air of a Wisconsin winter can cause it to skin over rapidly. Regardless of the weather, always stick to the two-coat standard. The first coat establishes the bond and provides a base, while the second coat delivers the depth of color and the durable finish your home deserves.
When you are painting trim molding, the secret to a mirror-like finish is a technique called "laying off." After you've applied paint to a two or three-foot section of molding, go back over it with a single, light stroke. This long, continuous motion levels the paint and removes any remaining brush marks. It's vital to work in small enough sections to maintain a "wet edge," ensuring that new paint blends seamlessly with the previous section. Keep a close eye on "fat edges," which are those thick build-ups of paint that occur at the corners and crevices of complex molding profiles. Quickly smooth these out with your brush before the paint begins to set.
Crown molding presents unique ergonomic challenges. When working overhead, ladder safety is your first priority. Keep your hips centered between the ladder rails and avoid overreaching, which can lead to fatigue and shaky hands. A strategic pro tip is to paint your crown molding before you paint the walls. This allows you to be slightly less precise with your "overpaint" onto the wall surface, as the wall paint will eventually cover those marks with a clean, sharp line. If the physical strain or the height of your ceilings makes this project daunting, our team provides professional residential interior painting to ensure a perfect finish without the risk.
While the steps for painting trim molding are straightforward in theory, the reality of a full-scale home refresh is often more demanding than homeowners anticipate. Tackling a single room is a manageable weekend project, but refreshing the woodwork throughout an entire residence requires a level of stamina and precision that can quickly become overwhelming. This is particularly true when dealing with high-vaulted ceilings or intricate dental molding that demands a steady hand and specialized equipment. For busy Milwaukee professionals, the time-value proposition of hiring an expert team is clear: you reclaim your weekends while ensuring a result that increases your home's market appeal.
Choosing a professional partner offers peace of mind that comes from decades of local experience. With 30 years in the industry, we understand the specific environmental factors that affect paint performance in Wisconsin, from seasonal humidity shifts to the expansion and contraction of architectural wood. We utilize high-end professional sprayers for larger projects, which provide a seamless, factory-like finish that's nearly impossible to replicate with a brush and roller alone. This equipment allows us to move efficiently through your home, delivering consistent coverage on every door casing and window frame.
A comprehensive trim project involves more than just applying paint; it requires a massive logistical effort. We take full responsibility for the heavy lifting, including moving furniture and providing extensive surface protection for your flooring and upholstery. Our team focuses on the specialized skills needed for window and door casings, where multiple planes and moving parts require a meticulous approach to prevent sticking or uneven build-up. We manage the entire lifecycle of the project, allowing you to live in your home comfortably while the transformation takes place.
If you live in one of the historic neighborhoods in Wauwatosa or Whitefish Bay, your home likely features unique architectural details that require a sensitive touch. Older woodwork often has layers of aged finishes or minor structural damage that need expert restoration before a new coat can be applied. We specialize in bringing the luster back to these historic elements, preserving the character of your property while modernizing its aesthetic. Whether your project involves a single ornate room or a complete interior overhaul, we're here to help. Request your free trim painting estimate from Pro Painter USA today and see the difference that 30 years of professional integrity makes for your home.
Achieving a flawless finish on your architectural details is a labor of love that pays dividends in your home's aesthetic appeal and long-term value. You've learned that successful painting trim molding is rooted in a commitment to the 90% prep rule, where meticulous sanding and caulking create the foundation for excellence. By selecting the right tools, such as an angled sash brush, and choosing premium water-based alkyd enamels, you ensure your woodwork remains durable and easy to clean for years to come.
Whether you're refreshing a single room or restoring the character of a historic Milwaukee property, the right approach makes all the difference. Our fully insured professional painting crews bring 30 years of local Milwaukee experience to every project, providing expert surface preparation in every quote to guarantee a factory-smooth result. If you're ready to modernize your interior without the physical strain or technical stress, we're here to help.
Get a Free Estimate for Your Milwaukee Trim Painting Project
Your home is your most significant investment, and giving it the professional care it deserves is a choice you'll appreciate every time you walk through the door.
Yes, sanding is essential for creating "tooth" so the new paint can adhere properly. Even if the surface looks smooth, a scuff sand with 120 to 220-grit sandpaper removes gloss and minor imperfections. Skipping this step often leads to peeling or chipping later. After sanding, always remove the dust with a vacuum and a tack cloth to ensure the surface is perfectly clean for the primer.
Semi-gloss or high-gloss enamels are the industry standards for trim. These finishes are harder and more durable than flat or eggshell paints, making them resistant to the scuffs and moisture common near floors and windows. The higher sheen also reflects light, which helps the architectural details of your molding stand out against the flatter texture of the walls. It's a choice that balances beauty with practical cleaning needs.
You can prevent bleed by sealing the edge of the tape with a very thin layer of the existing wall color or a clear matte medium. This locks the edge so the trim paint can't seep underneath. Another professional tip is to use a putty knife to firmly press the tape down. However, the most reliable method for painting trim molding is mastering a steady hand with an angled sash brush to minimize tape reliance.
Most professionals prefer to paint the trim first because it's much easier to tape off a smooth, hard surface than it is to tape off a wall. If you get a little trim paint on the wall, it doesn't matter since the wall paint will eventually cover it. Once the trim is fully dry, you can apply tape to it and focus on achieving those crisp wall lines without worrying about messy overlaps.
Yes, but you must use a high-quality bonding primer specifically designed for glossy or stained surfaces. Stained wood often has a varnish or lacquer that prevents paint from sticking. A thorough scuff sanding followed by a coat of oil-based or specialized water-based alkyd primer is necessary to ensure painting trim molding results in a finish that won't peel. Without this preparation, the paint will likely detach in large sheets over time.
Two coats are almost always necessary for a professional-grade finish. The first coat provides the base and identifies any remaining imperfections, while the second coat ensures uniform color depth and the proper sheen level. If you're making a dramatic color change, such as going from a dark wood stain to a bright white, you might even need a tinted primer followed by two full topcoats for complete coverage.
While the paint may feel dry to the touch in a few hours, it can take up to 30 days to fully cure. During this time, the paint is still hardening and remains susceptible to damage. Avoid scrubbing the surface or placing heavy objects against baseboards for at least the first two weeks. Factors like Milwaukee's seasonal humidity can also extend the curing process, so patience is key for a lasting finish.
Brushing is excellent for smaller rooms or detailed restoration work where precision is paramount. However, spraying provides a superior, factory-like finish without any visible brush marks. It's often the preferred method for large-scale projects or when painting intricate crown molding. While spraying requires more extensive masking and protection of your home's interior, the speed and smoothness of the final result are often worth the extra setup time required for professional equipment.
You might find these helpful:
We are a team of interior and exterior painters and we are not limited to house painting only. We can paint different businesses like retail shops, commercial buildings, and apartments.
We also provide restaurant painting services. We can give you more information about these services if you give us a call.